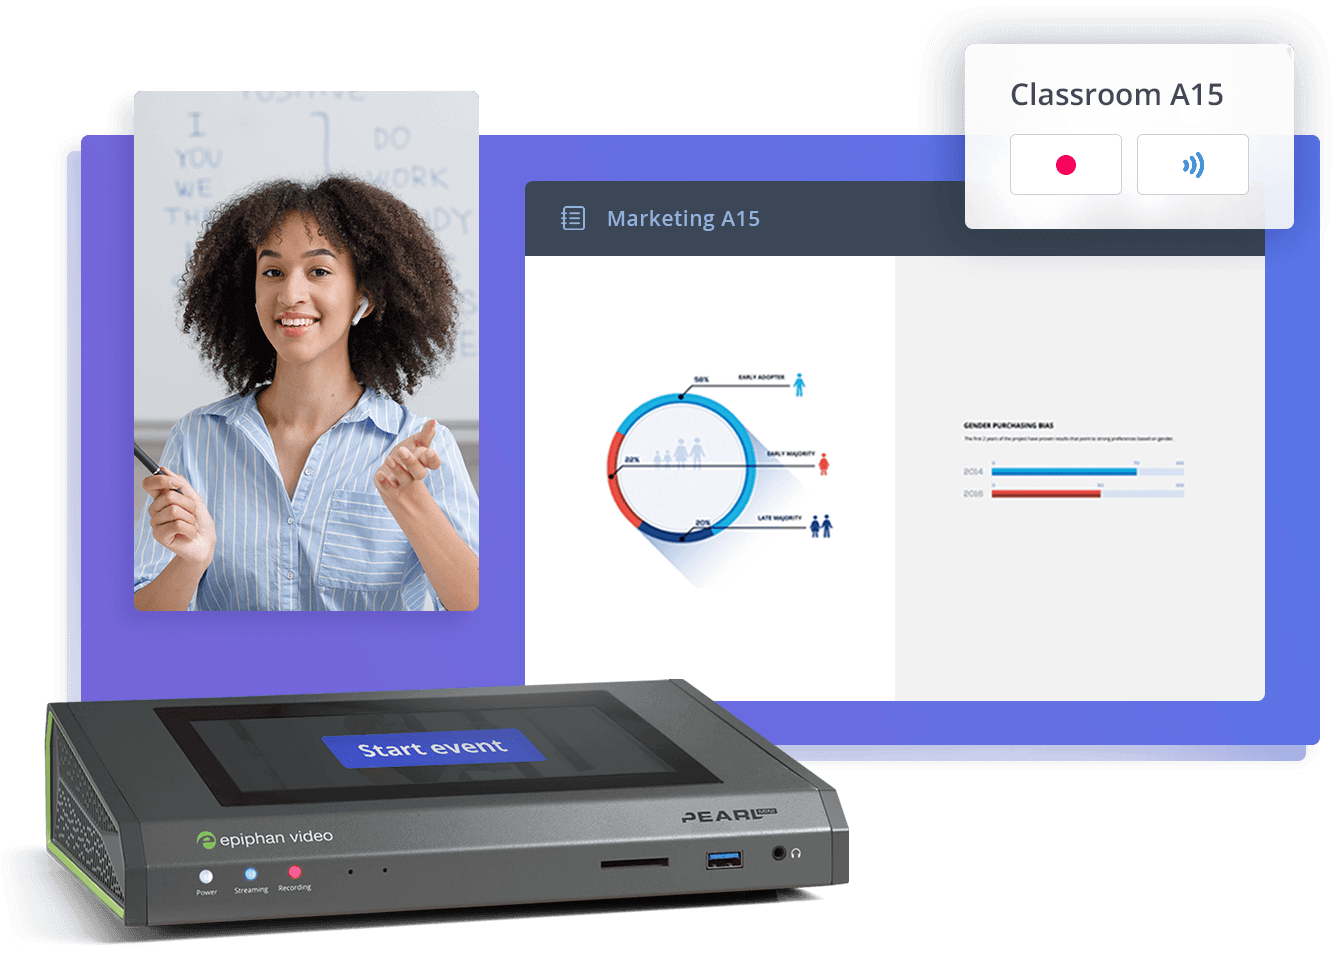
In the ever-changing landscape of teaching pedagogy, technology is constantly evolving, bringing new opportunities to the field of education. One such innovation making waves is the “One Button Studio.” In this blog, we will explore what a One Button Studio is, why it’s becoming so popular at forward-thinking institutions, and how to set up your own.
Jump to
Image may be NSFW.
Clik here to view.
The power behind your One Button Studio
Capture, stream, and record your audio and video sources with the press of a single button with Pearl MiniImage may be NSFW.
Clik here to view. .
.
Clik here to view.

Equip your campus with best-in-class video solutions
Meet your school’s video production needs with a lineup of flexible and scalable hardware for video capture, streaming, and recording – all centrally managed. Perfect for lecture capture, online learning programs, and more.
How to set up a One Button Studio
Setting up a One Button Studio might seem daunting, but it’s more accessible than you think. Here’s a simplified guide to get you started:
Step 1: Choose a location
It’s best if the studio is located in a quiet space with enough room for your studio equipment and any props or decor you may need for your recordings.
Step 2: Source equipment
You’ll need:
- High-definition camera (with an HDMI or SDI out)
- Professional microphone (shotgun or lavalier)
- A green screen
- Studio lighting
- Epiphan Pearl Mini video production system
Optional: Consider equipping your studio with a busylight to let others know when the studio is in use.
Step 3: Install and configure
Set up the studio equipment (read our “5 steps to creating the ultimate lecture recording studio” article to learn how).
To set up the One-Button part, connect your camera and audio to the Pearl Mini. From there, configure Single Touch recording on the device. You can also configure whether the video gets uploaded to the cloud or downloaded to a flash drive. When the configuration is complete, your users will be able to start and stop the recording by pressing a single button on the Pearl Mini’s touch screen.
Step 4: Create a user guide
To ensure smooth operation, create a user guide for your One Button Studio with simple steps to follow. Include instructions on how to power the equipment, start recording, and access recorded files.
Step 5: Test test test
Bring in students and teachers and test out the setup on them. Take note of friction points and eliminate them. Make sure your setup is easy for everyone to use and produces consistent, high-quality results.
Image may be NSFW.
Clik here to view.
Conclusion
One Button Studios are a game-changer in education, providing a user-friendly, versatile, and cost-effective solution for creating high-quality video content. Whether you’re a teacher looking to engage your students, a student aiming to improve your presentation skills, or an institution seeking to enhance its educational offerings, a One Button Studio can be your ticket to success.
Clik here to view.

5 steps to creating the ultimate lecture recording studio
Follow these 5 basic steps to take your lecture recording production to the next level and help to keep your students interested and engaged.
Learn moreThe post One Button Studios: The easy way to create video content appeared first on Epiphan Video.
